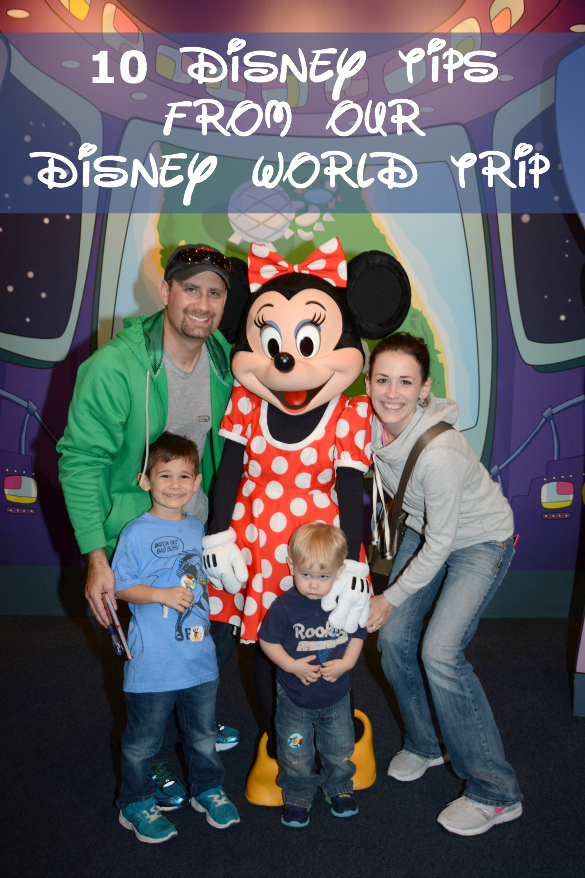
We recently spent six days in Orlando, FL to take on Disney World with ten of my family members, including four very young kids. Here are a few Disney tips and tricks we learned along the way.
 Part of me wants to write a post about our entire Disney trip sharing every single photo. I know how much that would bore you, so I'll leave that to my personal Facebook page. 🙂 Instead, I've weeded out a few of our takeaways to share with you today. If you are planning an upcoming Disney World vacation, I hope a few of these tips will help. By no means do I claim these will work for everyone, but these were the lifesavers and memory makers for our family.
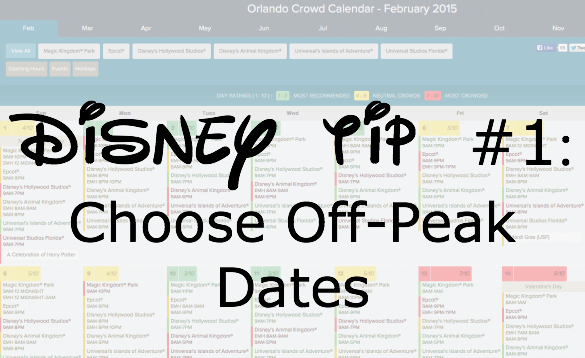
When will you take your Disney vacation? UnderCoverTourist.com has a useful crowd calendar on their website. We decided to go during the off-peak season for a variety of reasons. The biggest being that Ben was still on winter break from teaching. I know it might not be possible when working around your work schedules, but try to go during late January or the month of February to avoid the crowds. I've also heard that the week after Thanksgiving is a great time to go as far as very low crowd levels. Weather was another factor in our decision. We had gorgeous temperatures, 60's and 70's, the entire week!
If you do not care about how busy it is and hot weather doesn't bother you, then you will want to visit during the peak times in order to have the full experience. Because we were there during the off-peak season there was a lot of construction going on, including cranes on the castle (not ideal for the most magical photos) and many views were bordered up because they were working on building new rides or renovations. We found this especially true at Animal Kingdom. BUT -- with young kids we can't stand in long lines for rides, so low crowd levels were most important to us -- hence, the decision to visit the end of January.
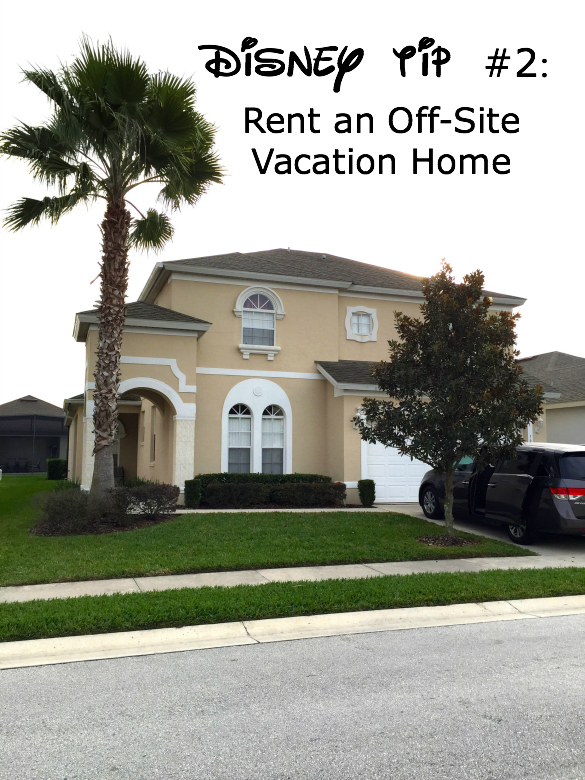
Disney Tip #2: Rent an Off-Site Vacation Home
Once we nailed down our dates, I immediately searched for a place to stay. Since my entire family was meeting us in Orlando and we wanted to stay together, it was nearly impossible to find affordable on-site lodging. There were eleven of us, made up of three families plus my single younger sister. Renting a vacation home was ideal for us because we wanted to spend time together. Plus, having our own kitchen and pool was a nice bonus. It was also helpful to be able to hang out in the evenings playing games, watching TV, soaking in the hot tub, or chatting with sisters without worrying about waking the kids.
The house I found was perfect for our needs. Each couple had their own master suite (three suites!), then my little sister had her own room/bathroom with two twin beds, and the cousins shared another room with twin beds. We even managed to fit Simon in their room in a pack 'n play so he didn't have to sleep in our room! 🙂 Check out the gallery of photos from our house and you'll see the adorable Disney decorations in the kids' rooms. Another bonus!
The commute from the house to Disney was about 20 minutes, but it wasn't bad at all. For the money we were saving, driving 20 minutes each day wasn't even an issue. I'm talking $1200 for the entire week (7 nights) split between all three families! Think about it, that's less than $60/night for just my family for an entire house in a gated community and private pool. Even if you added the $17 per day parking rate at the parks, it's still a better deal than staying in the resorts. Plus, it was nice to have a break from Disney each night!
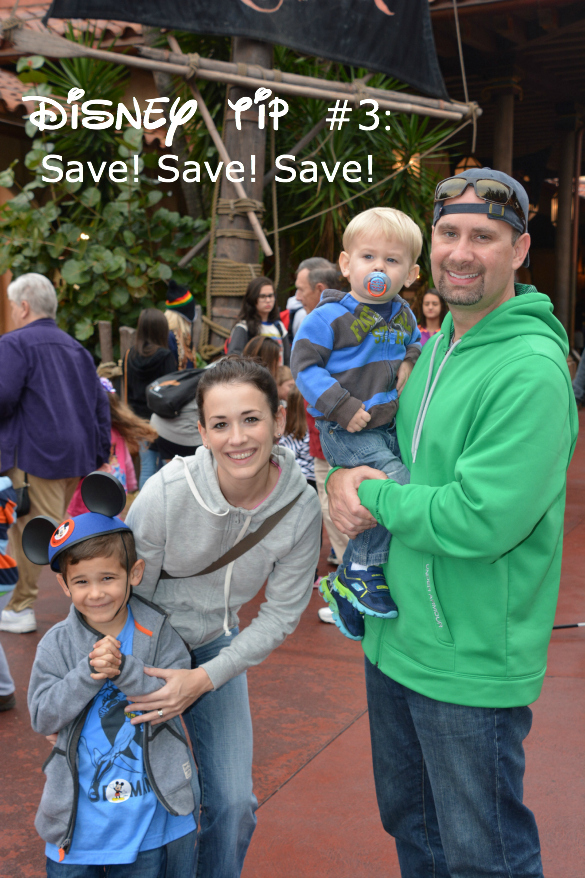
Disney Tip #3: Save, Save, Save!
Now that you chose your dates and booked your stay, start saving your money ASAP! The more prepared you are financially, the more you'll enjoy your trip. Maybe you do not have plans to visit Disney in the near future, but maybe you know you will take your family someday. Start saving NOW anyway. Many banks offer savings accounts called "Disney Savings" just for this reason. Figure out your budget and make a plan.
We saved for a year. We figured out the dollar amount we needed for everything (lodging, gas, parking, food, souvenirs, tickets, Memory Maker, etc.) and then saved a little bit extra than that. It was such a relief having it all set aside so that once we took our trip, we weren't strained for cash and we could completely enjoy ourselves and spend our money because we knew we had it!
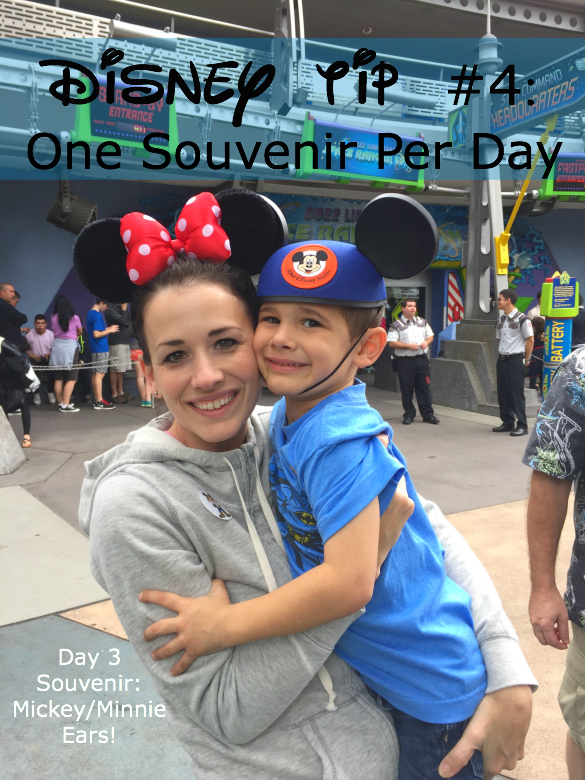
Disney Tip #4: One Souvenir Per Day
A tip a few friends gave me before our trip - tell your kids in the morning what type of souvenir they get to choose that day. Otherwise, they will see everything and want everything! For example, on day one we told Judah that he could pick out an autograph book as his souvenir. He enjoyed picking one out and then the rest of the day he wasn't begging for everything in sight! (He did ask for a few things, but I believe it was more limited than if he didn't already have his autograph book.) The next day, it was a light up toy, then day three was Mickey ears, etc. etc. A little warning, though -- it's not just the kids that need this boundary, but the parents, too! I found myself wanting to buy more souvenirs than just one a day! If you can budget for two, do it! 😉
We found that the prices of food/snacks at the parks weren't as high as we expected. Let me preface this by saying that we were expecting astronomically high prices. Since we weren't spending all that we budgeted for food, we were able to buy a few extra souvenirs.
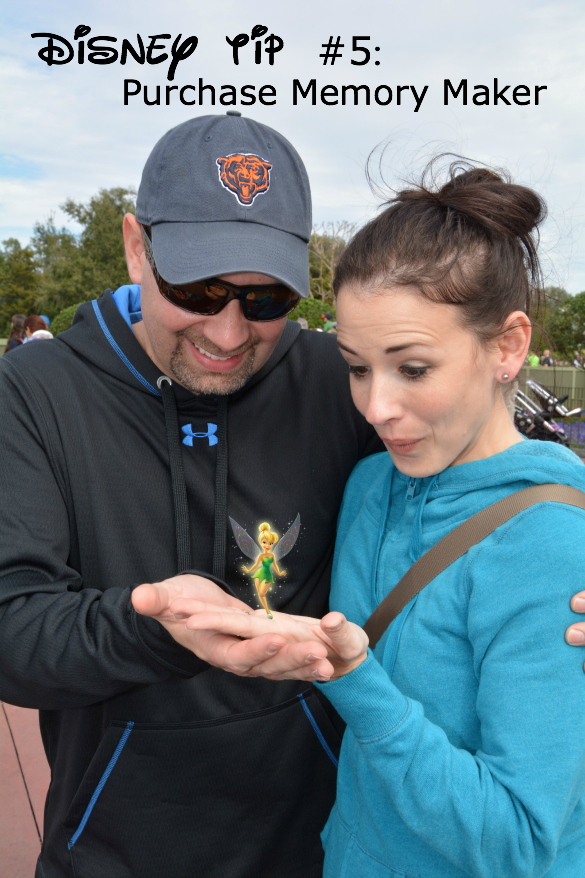
Disney Tip #5: Purchase Memory Maker
This is near and dear to me and if you know me at all, you know why. I am a photo hound! Every trip we go on I come back with hundreds of pictures -- mainly of our kids. Then, instead of taking the time to filter through them I just go and post them all in an album on Facebook, causing many of my virtual friends to roll their eyes. It's true! I just don't have the extra minutes in my day to go through every single photo deciding which ones are the best for sharing... so I share them all!
As much as I love taking photos during our adventures, I really did not want to lug around our nice and somewhat heavy camera. My iPhone 6 takes decent photos, but I also didn't want to be limited to a camera phone. With Disney's Photo Pass service there are photographers stationed through out every park and even Downtown Disney, ready to take your memorable photos for you. No need to drag around your big camera AND you don't have to quickly bother some stranger to take an entire group photo for you!
Here's the thing -- Memory Maker includes all of the photos taken by the Disney photographers PLUS any photos taken of you on the rides. You get ALL of the digital copies downloaded onto your computer to share and print wherever and whenever you want. You have them forever. So, if you are going with a big family like we did, we just split one Memory Maker purchase between the three families. We ended up with a week of Disney photos for all eleven people for one low price. If you purchase the Memory Maker at least three days before you visit your first park you will save $30-$40. So plan ahead!
The Disney photographers are typically stationed at certain photo opps with optimal backgrounds (e.g., in front of Cinderella's Castle, Main Street, Mount Everest, Hollywood Studios entrance, etc.). But, if you have another place you want a photo and a photographer is nearby, they are usually very happy to shoot on over and take your photo. Also ask them if they add "magic" to your photos. Some photographers will have you stand a certain way, look at a specific spot on the ground, or hold your hands up so that they can add in a little surprise to the photo, like you see with Tinkerbell above. So cute! Take advantage of their service! We did! 🙂
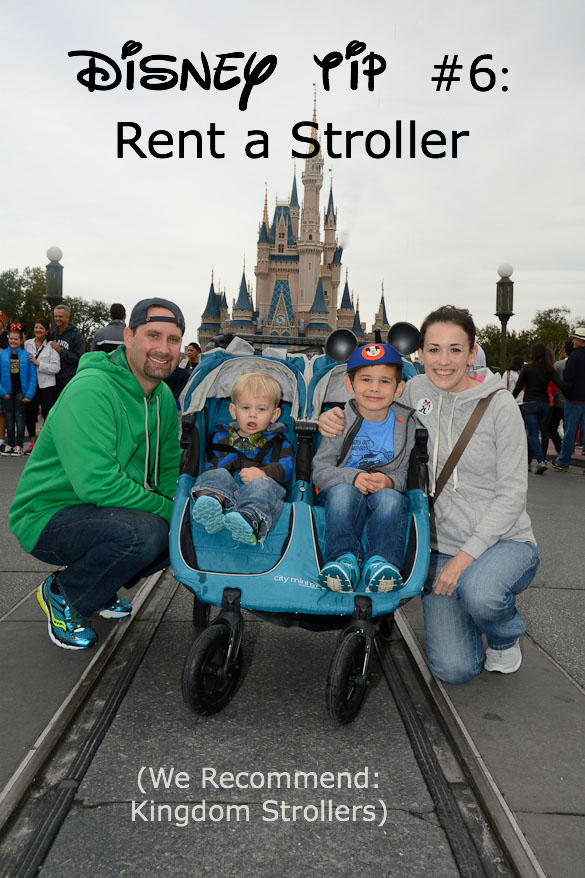
Disney Tip #6: Rent A Stroller
Months before our trip, we were going back and forth on renting a double stroller for our Disney trip. We do not own a double stroller at home, but knew that Judah would not want to walk the entire time at just 5 years old. We wondered if maybe the boys could just take turns with one stroller, or if we should bring both of our single strollers. Finally, after much persuasion from friends, we decided a double stroller is what we needed.
I knew we didn't want to rent on-site from Disney stroller rentals because you have to drop the stroller off every day and we wanted to have it to hold the kids, cooler and souvenirs as we walked the distance to/from our van in the parking lot. Plus, we wanted to use it for other places we went besides Disney. I've also heard it's much more expensive.
So, I researched external stroller rental companies in the Orlando area and came across Kingdom Strollers. After reviewing their website, policies and prices, I was hooked! The price is very affordable and I was excited we wouldn't have to pack a stroller in our van at all -- leaving more room for our luggage. They drop off and pick up the stroller for you on the days you specify at the location you're staying! I quickly called my sister and told her about Kingdom Strollers and we decided we both wanted to rent a double stroller from them.
The owner, Matt, was super-duper nice to work with and very accommodating to our needs. A small cooler, parent console and stroller rain cover came free with our rental, too. Already an owner of the City Mini GT single stroller, I knew that the brand of stroller they were offering was top notch. If you're not familiar with Baby Jogger's City Mini strollers, then you can watch my video review and see how swiftly they push along. They are the best strollers ever and with big sun shades! It was the same for the larger double strollers. We couldn't believe how easy they were to navigate. And that, my friends, was very vital to surviving our Disney stroller pushing days. 🙂
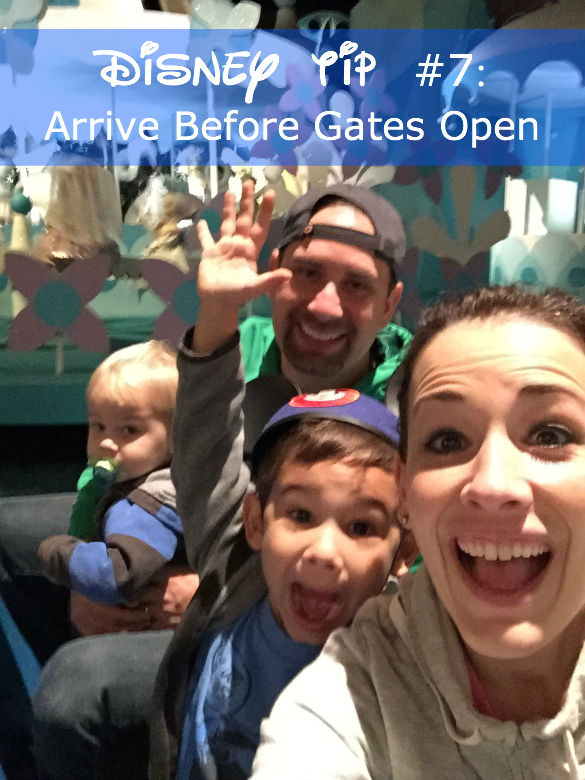
Disney Tip #7: Arrive Before Gates Open
Plan to arrive at the park before the gate opens. I truly believe that the "early bird gets the worm". Even during the off-peak season, the most popular rides will still have a long wait. If you do not want to wait in the lines for these popular rides and do not have a fast pass, then get to the park before the gates open and once they let you in, book it to one of those rides! We did this two different days - once at Magic Kingdom and the other at Hollywood Studios. For Magic Kingdom, we headed straight to Peter Pan and had no wait. Once we were off that, we walked right onto Small World, then to Haunted Mansion and Buzz Lightyear. We managed to ride four rides within the first hour of the park opening! (The photo above is us celebrating how many rides we did in one hour.) 🙂
At Hollywood Studios, we arrived before the gate opened and then got right on Toy Story Mania with no wait. By the time we finished the ride, it already developed a 40 minute wait! We were glad we already rode. 🙂 That said, Disney has done an outstanding job with renovating most lines to include exhibitions and entertainment while waiting in line. I was impressed with the additions to The Haunted Mansion, for example. And, holy cow, Toy Story Mania's wait in line looked like it would be a blast! We walked right through, but I'm sure when people do have to wait it doesn't seem as long as the actual time because of all the fun things to see and do while waiting. Kudos, Disney!
Remember, when planning to arrive before the gates open, make sure you allow time for parking, riding the monorail or ferry (or whatever other transportation is involved in getting to that specific park). I also HIGHLY recommend getting to The Magic Kingdom for their Welcome Show. It's truly magical.
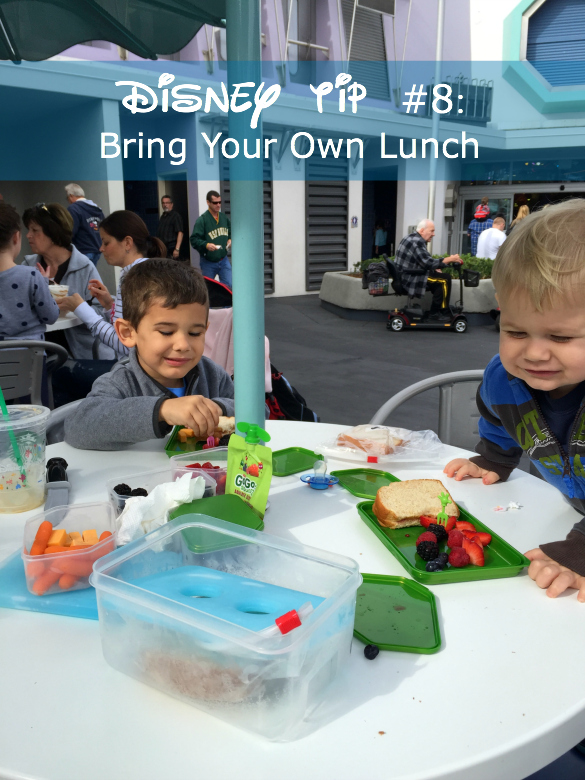
Disney Tip #8: Bring Your Lunch
Many of you will not agree with me on this one -- bringing our lunch to the parks every day was one of the wisest decisions we made during this trip. It did take waking up extra early in the morning to make the lunches, but it was well worth the effort. Disney allows you to bring coolers in the park (there is a size limit, but the limit is big enough) so you can pack your own meals and eat wherever you want. We packed turkey sandwiches, fruit, granola bars, trail mix, cheese, bottled water, etc. When it came time for lunch, we didn't have to spend any wasted time deciding on a place to eat or waiting in line! Instead, we quickly found a bench or table and whipped out our cooler.
In addition to being a time and money saver, packing our own lunch was an energy booster. Ben and I commented every day about how good we felt after eating our healthier lunch. We knew that if we wouldn't have packed a lunch, we would have opted for burgers and fries or one of the many other heavier food options in the parks. There are some great lighter options at Disney, too, but I'm glad we chose to save our money and also not risk deciding on the heavier menu items to weigh us down.
Before we left on our trip, I ordered these cute little Mickey picks to pack in our lunches each day. The boys got a kick out of them! They used them as forks for the berries and cheese cubes. Now when we pack a picnic lunch for the playground in our hometown, they want to use these Mickey picks! Anyway, it might be fun to consider doing something like this for your kids to make packing a lunch fun for them, and hopefully avoid the risk of them complaining and wanting the park food.
One last reason we decided to pack our lunches was so we could spend our food money on treats instead. There are so many Disney World treat items, and we knew that it would be much more fun eating those rather than spending our money on regular food. So, we gladly treated ourselves to Dole Whips, Starbucks pick-me-ups, ice cream, shakes, churros, etc. For dinner, we would find a place to eat at the parks. Next time, we will make advanced reservations for dinner. It was too difficult to do it this time around with 11 of us.
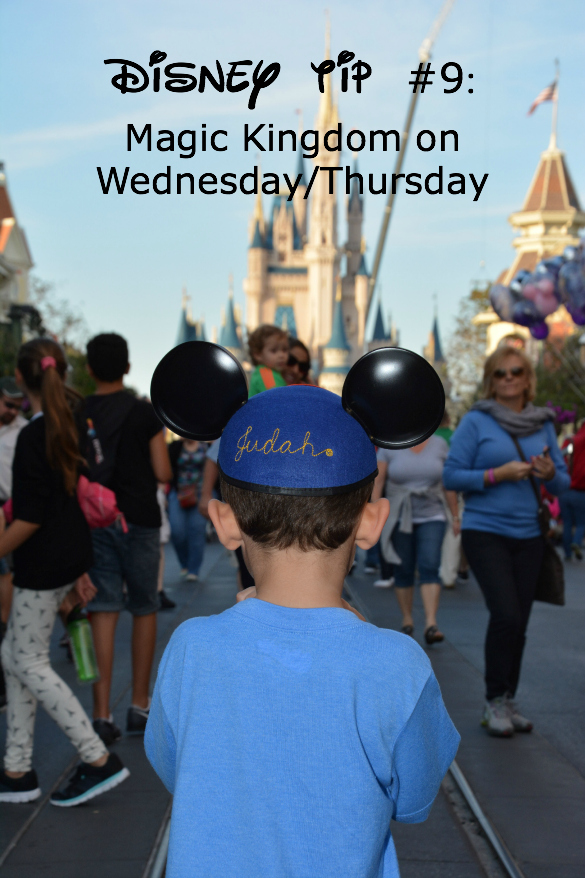
Disney Tip #9: Magic Kingdom on Wednesday/Thursday
If you are visiting Disney World for a week, then consider avoiding The Magic Kingdom on its busiest days and choose it for Wednesday or Thursday instead. Everyone wants to go to Magic Kingdom as their first stop, so Sunday-Tuesday is typically busier than Wednesday and Thursday. We definitely found this out the hard way. We couldn't believe how busy this specific park was on the days we chose (Sunday and Tuesday) for the off-season! Some local friends tipped us off about the Wednesday/Thursday lower crowds and it proved to be true.
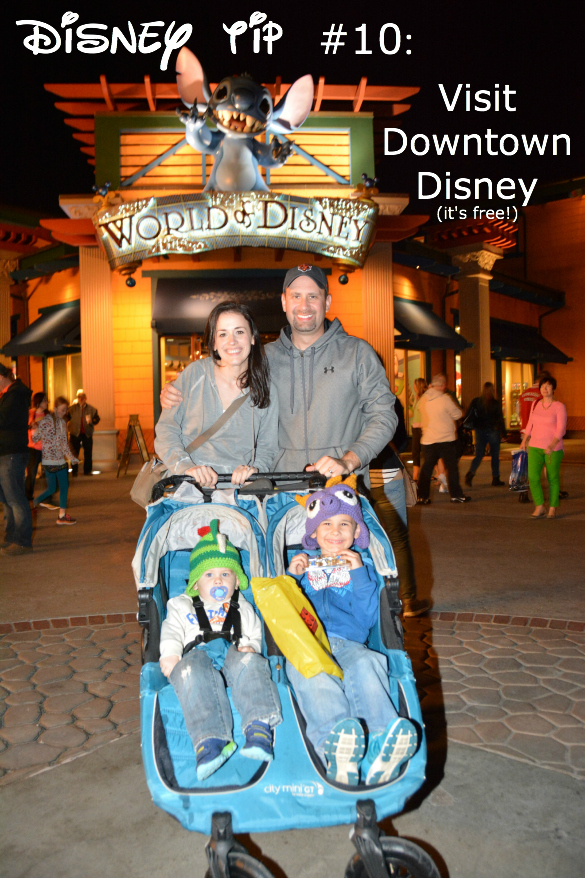
Disney Tip #10: Visit Downtown Disney (It's Free!)
For our six days in Orlando, we opted for a five-day park hopper in order to take one day off for relaxing, hanging at the house and using the pool. We slept in, swam and I made tacos at the house for lunch. In the early evening, we decided to make dinner reservations at T-Rex Cafe in Downtown Disney. After dinner, we strolled around Downtown Disney and found that we wished we would've made more time to check the area out. We shopped in the Lego Store, Ghirardelli, World of Disney, and various other souvenir shops.
One of my favorites was Goofy's Candy Company where you can make your own dessert. Judah made a chocolate covered Mickey rice krispies treat. He picked all his toppings and was so proud! There is also a train ride and a carousel for the kids. The restaurants are all fun for food and entertainment. We really liked our experience at T-Rex! During our next trip, we are making sure to spend at least half a day in Downtown Disney. It's fun for all without the price of a park ticket (and free parking)!
Tell Me YOUR Disney Tips!
There you have it! I hope this helps. Again, you can choose and pick from these tips and tricks. Some may be right for you, others not. I know many of you rely on the resorts as part of the magical experience and we hope to stay there one day, too, when it is just our family of four or just the two of us as a couple! Magic Bands and Magic Hours are a bonus with the resorts. Or, you might not want to pack a lunch if you don't have young kids with a stroller to carry it! Either way, I hope you enjoy your Disney stay and if you have any tips of your own to share, please share them in a comment below!
Disclosure: Kingdom Strollers provided me with one free stroller rental in exchange for an honest review.
Other Helpful Disney World Articles:
Tips to Visit Magic Kingdom in One Day
How to Ride Avatar Flight of Passage Without a FastPass


