

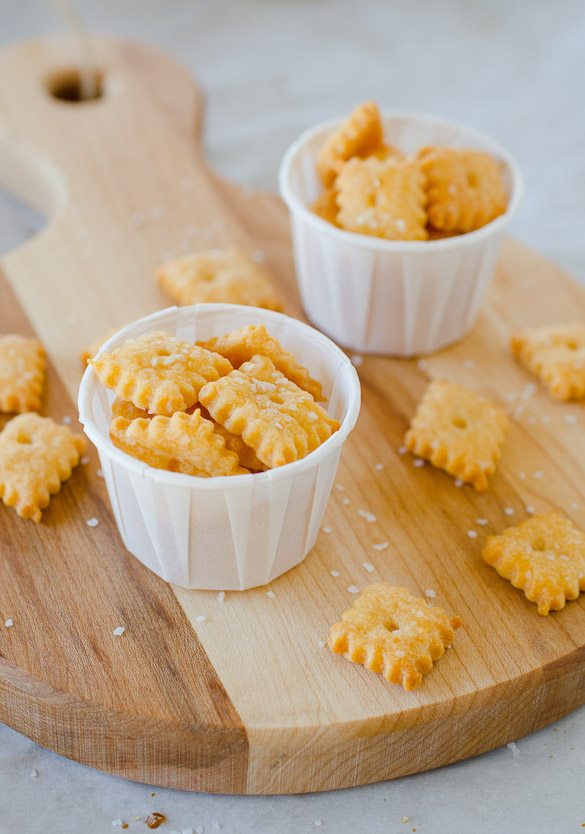
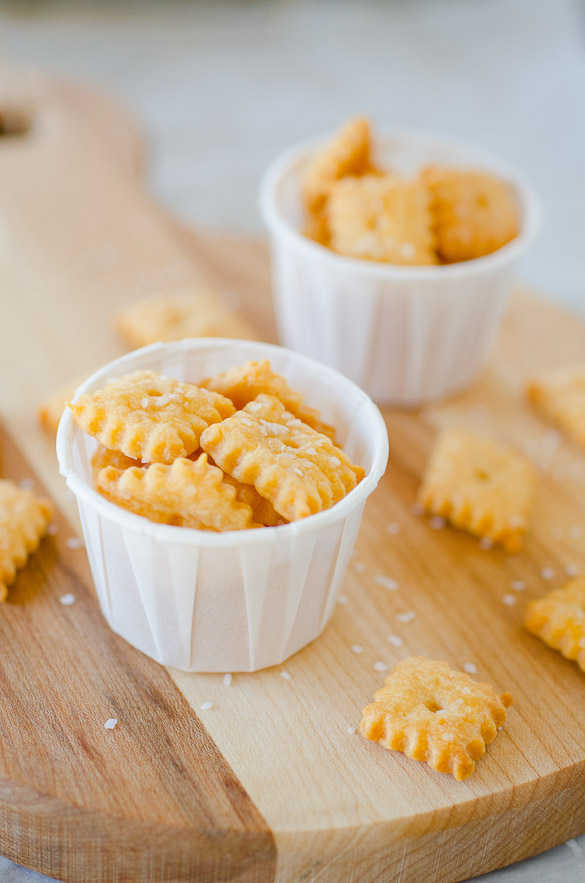
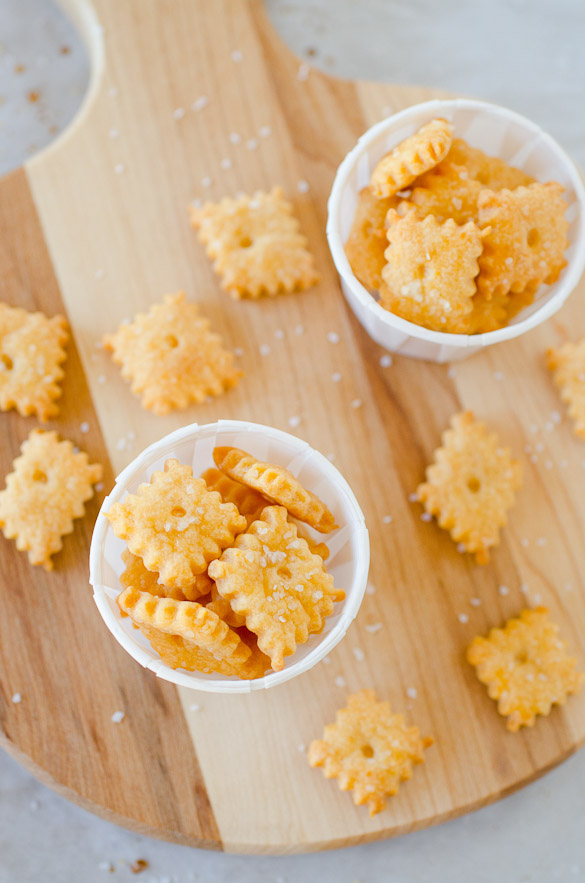
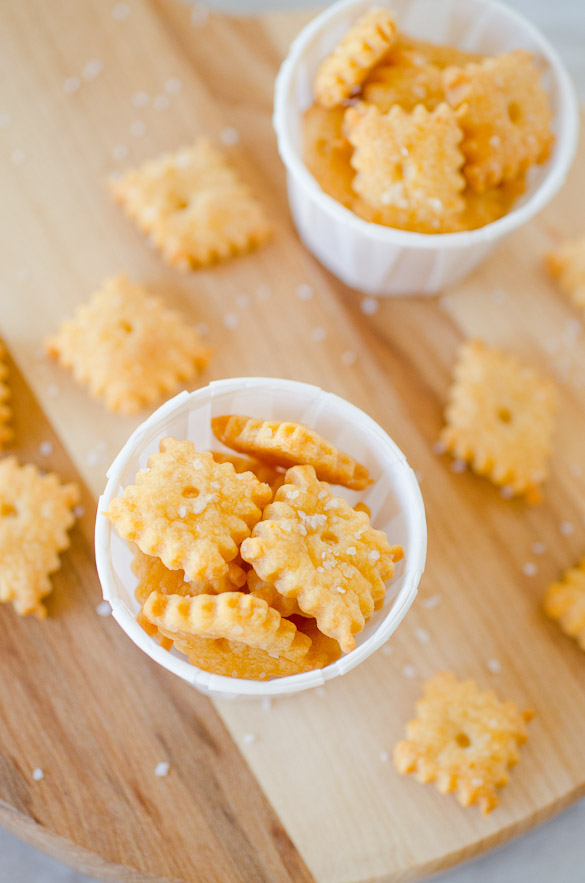
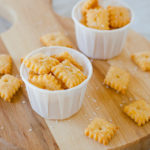
You can make homemade Cheez-It snack crackers with little effort and better fresher taste!
 Cheez-It snack crackers are Ben's addiction. He can down an entire box in one day, which is why I store the box on the very top shelf of the kitchen cabinet that holds our snacks. It's so high that you need a step stool to get to it. This doesn't slow Ben down too much, but it helps the Cheez-It crackers last a little longer than one day.
 After I came across this homemade Cheez-It Crackers recipe from Natalie, I tucked it away for something Judah and I could make for Ben for Father's Day. I figured it would include complicated steps, so what a better way to say "I love you, you're the best dad ever for my kids!" than laboring in the kitchen to make one of his favorite snacks.
 I found out quickly that I was wrong. These Homemade Cheez-It Snack Crackers were not difficult at all.
Don't tell Ben.
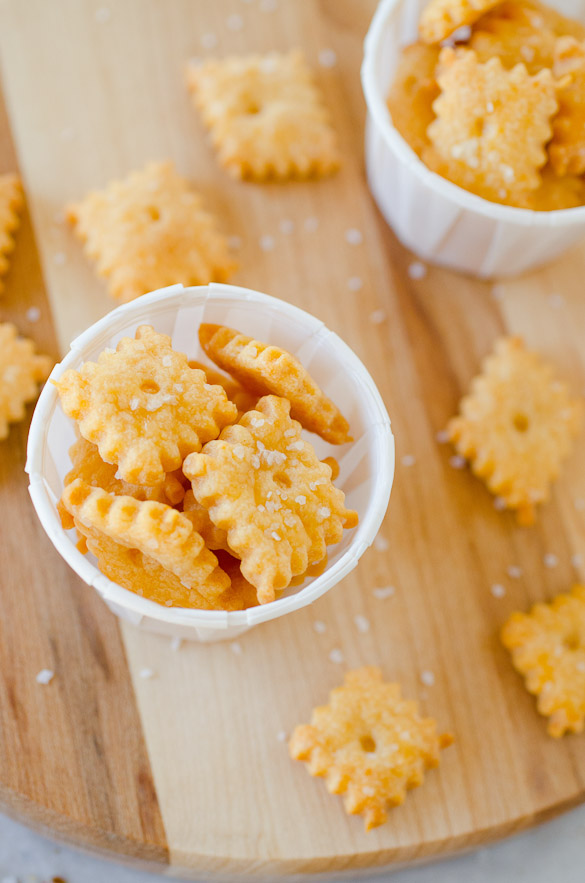
So Judah and I didn't have to work too hard to create our loving surprise for Ben, but we did have to work hard at not eating all of the yummy Cheez-It crackers! These are seriously better than the boxed kind, but oddly enough, they taste very very similar.
Guess what? Ben liked the homemade Cheez-It crackers better! So you don't have to guess that once Ben found them, they were gone in... seconds.
 I can't say that it's very cost effective to make these homemade cheese crackers in place of buying them. The shredded cheese can cost more than a box of Cheez-It crackers you can buy on sale. You also definitely don't end up with as many homemade ones as you get in a single box. But, it is worth making them homemade every once in a while just for the fun of it and maybe to impress someone. Just don't tell them how easy they were to make.
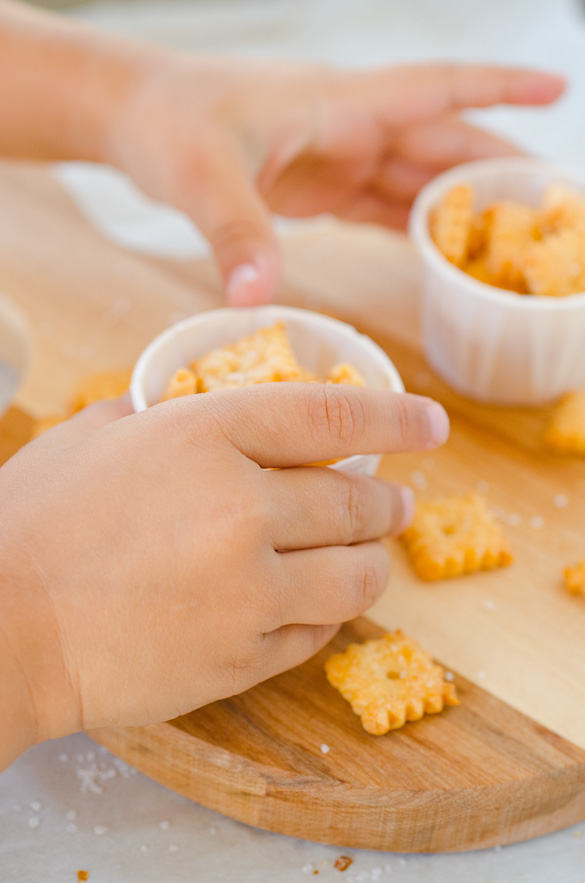 Now, who's chubby little hands are stealing his daddy's crackers? 😉
Recipe Card
Homemade Cheez-It Crackers
Ingredients
- 4 oz block extra sharp cheddar cheese , grated
- 2 Tablespoons unsalted butter
- ½ cup white whole wheat flour
- ¼ cup all-purpose flour
- ⅛ teaspoon onion powder
- ¼ teaspoon salt
- 2 to 2 ½ Tablespoons milk , plus more for brushing
- Kosher salt
Instructions
- Adjust racks to the top and bottom third of the oven. Preheat oven to 350 degrees F. Line two baking sheets with parchment paper or silicone liners; set aside.
- In the bowl of a food processor fitted with the dough blade, process the cheese, butter, flours, onion powder, salt and 2 Tablespoons of the milk until a dough is formed. Add up to ½ Tablespoon more of milk if the dough is too dry and crumbly.
- Transfer the dough to a pastry mat or a clean floured surface. Roll to a large rectangle until the thickness of the dough is about 1/16th of an inch. Using a pastry wheel or a pizza cutter, cut the dough into 1x1-inch squares, or ½x1/2-inch squares (really, it doesn't matter too much what size you choose) but the baking times may vary. Reserve any scraps to repeat and roll out and cut again.
- Using a thin spatula, transfer the dough squares onto the baking sheets. Lightly brush milk onto the tops of each square with a pastry brush, then sprinkle with Kosher salt. Prick the center of each square with the blunt end of a bamboo skewer.
- Bake the two baking sheets of crackers for 12 to 18 minutes, depending on the size of your crackers, until they are crisp and slightly golden. Rotate the pans from top to bottom and back to front halfway through baking.
- Remove from the oven and set the baking sheets on wire racks. Allow to cool completely.

