• Skip to primary navigation
  • Skip to main content
  • Skip to primary sidebar
  • Home
  • More Recipes
    • Breakfast
    • Easy Dinner Recipes
    • Appetizers/Snacks
    • Side Dishes
    • Best Dessert Recipes
    • Cookies
    • All Recipes
    • Categories
  • Travel
  • Shop

Easy Recipes for Family Time - Seeded At The Table logo

menu icon
go to homepage
search icon
Homepage link
  • About
  • Cookies
  • Easy Dinner Recipes
  • All Recipes
  • Travel
  • Shop
  • Contact
×

Home » Family » Easy DIY Homemade Playdough

November 11, 2013 Updated: June 14, 2020

Easy DIY Homemade Playdough

This post may contain affiliate links. Read my disclosure policy.

Pin
Share
Post
50Shares
Jump to Recipe

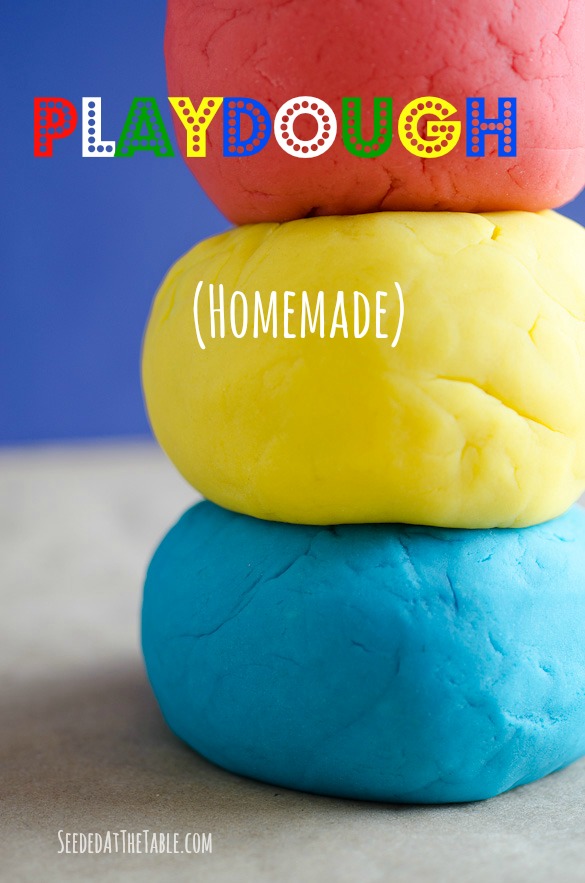
With only a couple of simple ingredients and a few minutes of your time, you can easily make Playdough at home for your kids to enjoy.  And, guess what?  It's not as messy as the real stuff.

Easy DIY Homemade Playdough from SeededAtTheTable.com

How many of you moms and dads have a love/hate relationship with store-bought Play-Doh?  I love it because it keeps a child busy for minutes upon minutes.  I hate it because it crumbles and is entirely messy!   Because of this, I stopped buying it for Judah and requested his grandparents not buy it for him, as well.

Then I started feeling bad that I was taking this fun part of his life away.  What child doesn't have memories of playing with Play-Doh!?  Of course, my most vivid childhood memory of Play-Doh was watching a classmate in preschool take a huge bite out of his dough, then crying because it tasted so bad.

But, was I stifling Judah's creativity?

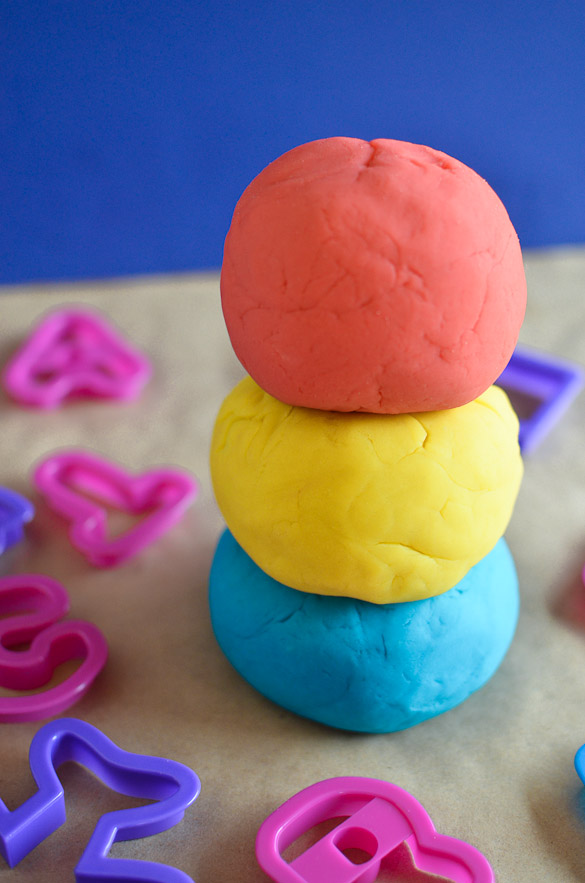
Easy Homemade DIY Playdough from SeededAtTheTable.com

When we lived in Southern California, a good friend from our church introduced me to homemade playdough.  It was right before we moved across the country, though, so I never snatched her recipe.  Or, if I did, we never had the time to make it before packing up and leaving.  Fast forward to a few months ago - I decided to finally look up a recipe and try making it myself.

Great decision!

I could not believe how easy it was to make playdough in my own kitchen!  It was so easy, in fact, that I ended up making a few batches right in a row.  It took up maybe a half hour of my time to make three total batches.  That's nothing!

Judah had fun picking out the colors he wanted, then continued to play with the dough for hours.  It is still a favorite way to spend his play time.

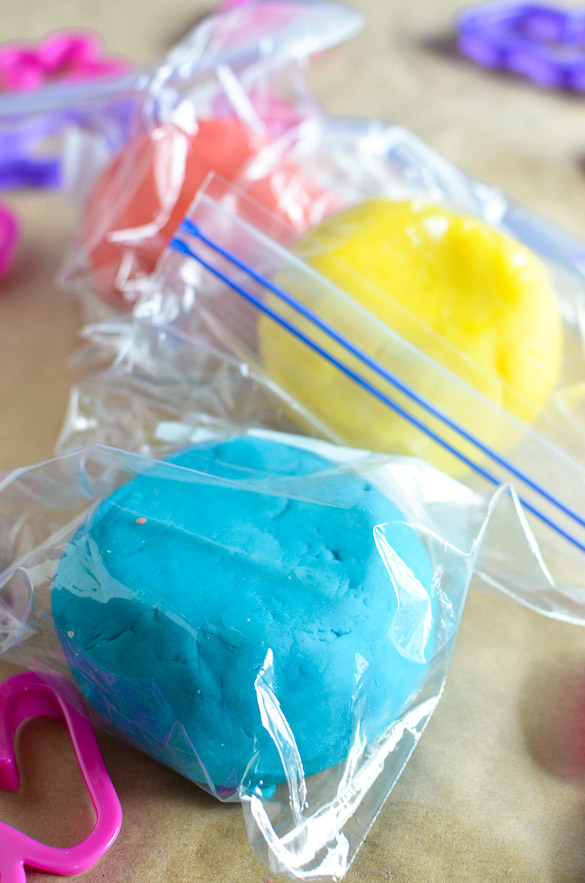
Easy Homemade Playdough in Zipper Bags from SeededAtTheTable.com

We store ours in quart sized zipper bags, and use our big batch of cookie cutters to cut out fun shapes with the dough.  The dough stays together much better than store-bought Play-Doh and it doesn't smell bad at all.  But, as curious as you may be, don't even try to take a bite out of it.  I may or may not be speaking out of experience...  <A-hem! Cough-Cough!>

Recipe Card

Easy DIY Homemade Playdough
Print Recipe
5 from 4 votes

Easy DIY Homemade Playdough

Making playdough in your home kitchen in easier than you imagined. Just a couple of ingredients and a few minutes of your time saves you money and creates lasting memories!
Prep Time5 minutes mins
Cook Time5 minutes mins
Total Time10 minutes mins
Servings: 2 cups
Author: Nikki Gladd

Ingredients

  • 1 cup water
  • 2 Tablespoons vegetable oil
  • 1 cup all-purpose flour
  • ¼ cup salt
  • 2 Tablespoons cream of tartar
  • Gel-based food coloring

Instructions

  • In a medium to large sized saucepan, mix together the water and vegetable oil. Stir in the flour, salt and cream of tartar. Mix in drops of food coloring until it reaches your desired shade of color.
  • Cook over medium heat, stirring constantly until the dough forms into a ball and is no longer sticky. This will take around 4-5 minutes and will go through different stages of looking smooth to chunky to crumbly. But, keep stirring and scraping the bottom of the pan. It will eventually form a dough ball and will pull away from the sides of the pan.
  • Remove dough from the pan and transfer to a paper plate or wax paper to cool. Once it is cool enough to handle, knead the dough until smooth. This part is fun for the kids!
  • Store the finished playdough at room temperature in a quart-size plastic zipper bag.
  • Source: Artsy Fartsy Mama

Notes

A few notes about this homemade play dough recipe:
-Cream of Tartar may be more expensive at some stores, but check your Target and Kroger stores where I found them much cheaper (around $2.00 for a larger container than other places). Also remember that it is still much cheaper to make it homemade than buy store-bought Play-Doh.
-There are other recipes out there that use quite a bit less Cream of Tartar, but they also have reader reviews that the dough ended up sticky and unworkable the next day or so after. I think this could be because of using less Cream of Tartar. So, although it might be okay to use less, I would stick with the 2 Tablespoons called for in this recipe.
-You can probably use water-based food coloring, but I can't ensure it will work the same and be as vibrant in color. Gel based food coloring will not rub off on your hands, which is a major plus. And, you don't have to use as much of it for each batch. I use my favorite brand, Americolor, which only needs a few drops to achieve the colors I want.
-I have heard of many substituting coconut oil or canola oil for the vegetable oil. Can't tell you for sure how much to use, but I'm guessing it would be the same amount.
-One batch makes a large amount, about 2 cups. This is about equal to 4 containers of store-bought Play-Doh. I haven't tried it yet, but you may be able to halve the recipe with good results.
-This dough is completely safe for children in case they decide to take a taste (unless they have food allergies, in which every case is different).
-Try gifting homemade playdough for your kids' birthday party favors or sending to school with them for their classmates.

Nutrition

Serving: 1g
Tried this recipe?Take a pic and tag @seededtable or #SeededAtTheTable to be featured!


Pin
Share
Post
50Shares
« 2013 Iowa CornQuest Recap
Chocolate Dipped Cinnamon-Sugar Mini Pastry Donuts »
Seed at the table family photo

About Seeded At The Table

Thanks for visiting! We’re the Gladd family! We love donuts, Disney, LEGO and Jesus. Not in that order, of course. 🙂 Ben shares DIY wood-working projects and Nikki shares delicious recipes. You’ll also find a sprinkling of travel adventures and other family fun ideas!

Learn more about me →

Reader Interactions

Comments

  1. Jenna says

    March 21, 2019 at 11:46 am

    5 stars
    GREAT recipe! I doubled the recipe and add just three drops of blue food colouring -- ended up with a nice light teal! We played with it while it was still warm. 🙂
    Thank you!

    Reply
  2. Maria C says

    October 06, 2017 at 9:52 am

    5 stars
    I wrote a comment about how much we love this recipe, but I forgot to add that my older daughter didn't like the doughy smell so I added about 3-4 drops of peppermint essential oil. It smells so good now! However, DO NOT let children eat any that you have added essential oils to! Next time I am going to try vanilla and/or cinnamon like someone else suggested. My daughters are 3 & 4 so I don't have to worry about them trying to eat it.

    Reply
    • Nikki Gladd says

      October 11, 2017 at 2:32 pm

      Such a great idea, Maria! Thank you for sharing!

      Reply
  3. Maria C says

    October 06, 2017 at 9:48 am

    5 stars
    This is the best recipe ever! I made it this morning for my daughters and an hour later it's still soft and malleable. I did a couple things slightly different. I added a few drops of regular food coloring to the water before mixing it with anything else so I could see the color and get the color I wanted. I then mixed the ingredients together in the sauce pan over low heat. I got scared at first because it looked so lumpy, but I remembered you writing that it would go through stages. I kept stirring with a wooden spoon and maybe a minute or two later, I had a beautiful dough ball. I made orange because my girls have been asking for that color because of pumpkins all around and Halloween around the corner. The color was pretty, but I'm going to try to find the gel coloring to try for brighter colors.

    Reply
  4. Jucara says

    June 19, 2017 at 8:31 pm

    5 stars
    Great recipe came out wonderful , thank you for sharing my grandchildren are enjoying countless hours of playing with it!

    Reply
    • Nikki Gladd says

      June 19, 2017 at 9:10 pm

      I love hearing this, Jucara! Glad you were able to use it with your grandchildren. Thank you for the feedback. 🙂

      Reply
  5. Anonymous says

    December 27, 2014 at 1:39 pm

    This was awful! It came out all chunky and crumbly and the food coloring never mixed in. Trying to find a new recipe. May have to go back to the store brand.

    Reply
    • Nikki Gladd says

      December 29, 2014 at 8:01 am

      I'm sorry you had a bad turn-out! This recipe works for me every time (and I've made this countless times). Others have told me they've had great results, too. Maybe you're using the wrong kind of food coloring or mixing it in at the wrong time. Also, if you cook it too long it will be crumbly. Try again!

      Reply
  6. Sara Bargas says

    June 01, 2014 at 10:34 pm

    Hi Nikki,
    Made this and bread dough for my kids when they enjoyed this stuff. Made it my my grand kids too. My recipes are packed up in storage right now so thought I would try your recipe on my little neighbors downstairs as a gift. Six wonderful little ones being home schooled and lively! I'll let you know how great flu mom is! Thanks for sharing @:^D

    Reply
  7. Lyndsi says

    May 28, 2014 at 12:35 pm

    This recipe is awesome! It turned our great, and was so easy! Thank you!

    Reply
  8. tara says

    January 28, 2014 at 11:43 pm

    How long does it stay good for?

    Reply
    • Nikki says

      January 29, 2014 at 7:12 am

      Hi Tara. A long time, if you keep them sealed in a zipper bag. I still have two of the dough balls from this post. (The others, Judah left out to dry.) 🙂

      Reply
      • Tara says

        January 31, 2014 at 2:53 pm

        Thank you! I'll get cooking then! I want some for our super bowl party!

        Reply
        • Nikki says

          February 01, 2014 at 8:58 am

          Fun idea!

          Reply
  9. Jacqueline says

    January 28, 2014 at 1:31 pm

    Awesome recipe! Turned out great and I even used water-based food coloring and the colors were great and didn't rub off. Great for a cold, snowy day activity!

    Reply
  10. Shandy Staggs says

    December 31, 2013 at 4:43 pm

    Hands down BEST PLAY-DO RECIPE EVER!!! Thank you so much! I just added a touch of vanilla and cinnamon for better smell :). Thank you!!

    Reply
    • Nikki says

      December 31, 2013 at 5:56 pm

      I love that idea, Shandy! Thank you! 🙂

      Reply
  11. Penny says

    December 10, 2013 at 10:47 am

    I wanted to make this for my kids since we are snowed in so wouldn't you know it I didn't have enough cream of tarter so I used all baking soda instead. It turned out great even used food coloring for dying eggs and it was no mess at all. I made 3 batches and they are playing with it as we speak. Thank you for the recipe its saving my sanity!

    Reply
    • Nikki says

      December 10, 2013 at 10:55 am

      That's great, Penny! I'm so glad the baking soda worked for you! 🙂

      Reply
  12. Valerie says

    December 03, 2013 at 9:58 am

    This turned out wonderfully. I made two batches for my daughter, one red and one green. I gave her some plastic Christmas cookie cutters to play with and she had Christmas playdough.

    Reply
    • Nikki says

      December 04, 2013 at 9:01 pm

      Yay! Great idea to do Christmas colors and Christmas cookie cutters! 🙂

      Reply
  13. Brie @ Entrée the Giant says

    November 12, 2013 at 9:12 am

    Awww, my mom used to make homemade playdoh for us kids (all four of us crazy, crazy kids) when we were little. I'll have to ask if she used this same recipe 🙂

    Memories...sigh.

    Reply
  14. Sommer@ASP says

    November 11, 2013 at 7:05 pm

    Fun, fun, fun!! My kids would love this!

    Reply
  15. Gerry @ Foodness Gracious says

    November 11, 2013 at 1:00 pm

    This is the same recipe I use for Quinn's preschool. Yup when he enrolled I signed up to be playdoh dad and make it every two weeks 🙂

    Reply
    • Nikki says

      November 11, 2013 at 4:03 pm

      HAHA! That's awesome, Gerry! So, do the kids call you "PD" for short? 😉

      Reply
5 from 4 votes

Leave a Reply Cancel reply

Your email address will not be published. Required fields are marked *

Recipe Rating


This site uses Akismet to reduce spam. Learn how your comment data is processed.

Primary Sidebar

Search for Recipes

© 2025 · Seeded at the Table · Home · About · Contact · Privacy Policy

Rate This Recipe

Your vote:


A rating is required
A name is required
An email is required

Recipe Ratings without Comment

Something went wrong. Please try again.